It is a well-known fact that loft ladders improve the value of your home, so many people  that are thinking about selling their home are keen to get one installed in order to get a little more money from their house sale.
For those homeowners staying put, installing a loft ladder is also a highly convenient addition. As let’s face it, climbing in and out of the loft without one can be a little scary and sometimes a dangerous task.
But, should these homeowners install loft ladders themselves or should they seek a professional service? In our opinion installing loft ladders is a very difficult task and shouldn’t be left in the hands of a DIY novice. But for those skilled tradespeople or keen DIYers the process can be relatively simple….However, if you are in any doubt – please call a professional!
Like anything, preparation is the key to success. Fail to prepare and the whole project could turn into a nightmare, not what you need on your weekend off, I’m sure you would agree. But, by getting yourself fully informed of the process and preparing yourself with the right tools, this task could be relatively easy and straightforward.
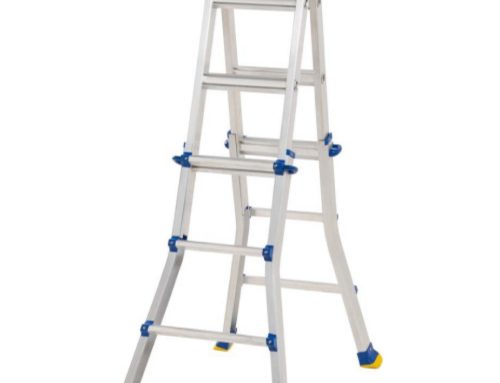
Pick the Right Ladder
You may be thinking ‘duh’, but so many people pick the wrong ladder and get that task off on the wrong foot.
It can be fairly difficult to measure the correct length of a loft ladder so make sure you take a look at some reputable online guides on how to do this correctly.
Once you’ve correctly measured for the loft ladder, it is then important to choose the right type, material and durability for your home. We have a great selection of loft ladders available so take a look to see which one would be best for you.
Get the Right Position
The next step is getting the right position. In fact this is the most crucial part in the whole process and we would recommend you get another person on board to help with this part of the task.
You can then ask this person to lift the loft ladder up to you through the opening in the ceiling. You can then make sure it is supported by the battens, assembled squarely in the ceiling opening and securely nailed into the sides.
You need to make sure that the box frame is completely flush with the ceiling all the way around the opening. If you find it is not, you will need to adjust it to make sure it is level. You can do this by using a spirit level.
Finally, you need to make sure that the ladder opens in the correct direction.
Secure the Box Frame
You will then need to ensure that the box frame is fit securely. You can do this by drilling holes in the sides and ends of the frame. A good ballpark figure for the amount of holes needed is three in the long sides and two in the short sides.
It is also important to follow the instructions that come with loft ladders, at this point you could countersink and fix the frame with brass or steel screws, but it’s worth checking which would be best on your instruction sheet.
 Apply Mitred Architrave
The next step is to fit mitred architrave on the edge of the frame and the box. You can then fix the box to the frame with panel pins (we’d suggest 25mm).
Check, check and check again.
Once you have your ladder in place, it is vitally important to check all fixings are secure. If something doesn’t feel right, it is probably because it is isn’t so make sure you tighten anything you are worried about and if you are still not sure – call in a professional!


Leave A Comment
You must be logged in to post a comment.